There have been several occasions when I have had to copy a Coveo index from one environment to another. From standing up and lower Test environment or helping onboard a developer setup a local instance. It is also recommended you take regular backups of your CES config files, as you can rebuild the entire index from a restored copy of the config, should your index ever become corrupt.
Steps
- Connect to the Source Coveo Master Index Administration tool (http://localhost:8081 by default) and put the index in read-only mode and backup the entire contents of the config directory (C:\CES7\config – by default). Putting the index in read-only mode will prevent further content changes to the index but will still enable search queries to return results.

- Put the Source Index back into read-write mode.
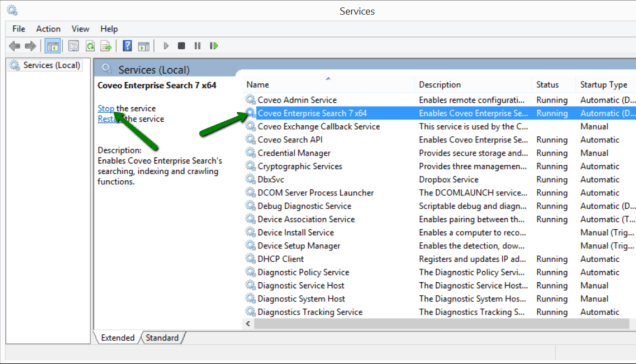
- On the destination environment open the local services and locate and stop the CES7 service. Restoring a backup of the CES configuration files while indexing or while in read-only mode will most likely result in a corrupt index.
- Delete all the files and folders under the destination index directory (C:\CES7\ – by default). This is necessary as the index must be rebuilt from the configuration files.
- Recreate the destination config folder in the destination index location (C:\CES7\config – by default) and restore the backed up config into this directory.
- If your destination index is installed in a different location, for example D:\CES7 you must edit the config.txt and replace all occurrences of the index path with the correct location.
- Restart the CES7 Service.
- Rebuild the sources.
