In my previous post, I demonstrated how to get the Sitecore OrderCloud headstart-nextjs running and deployed to Vercel. In this post, I will show you how to create a Vercel project using the Commerce template and steps to add Sitecore OrderCloud integration. How to then set up the project for local dev, make some basic changes and deploy those changes to Vercel.
Next.js Commerce Template
Vercel gives you the ability to create new projects, deploy existing projects or you can choose from one of their Templates. These templates are a great starting point to wrap your head around some of the Vercel concepts without having to start from scratch. I recommend checking them out.
The Commerce project template uses Next.js Commerce an all-in-one starter kit for high-performance e-commerce sites. It already boasts integrations out-of-the-box with the following commerce platforms: BigCommerce, Shopify, Swell, Saleor,Vendure and OrderCloud. With plans to support other platforms. Features include:
- Performant by default
- SEO Ready
- Internationalization
- Responsive
- UI Components
- Theming
- Standardized Data Hooks
- Integrations – seamless with the most common ecommerce platforms (Shopify, BigCommerce, Swell, Vendure, Saleor and OrderCloud).
Install Commerce Template
Once you’ve signed into your Vercel account select New Project and from the Clone Template panel and select Commerce, alternatively browse all templates and select Next.js Commerce:

Add the OrderCloud Integration
After the project has been created and deployed you can easily integrate Sitecore OrderCloud via an automated process built-into the Vercel. The automated process will:
- create a new Marketplace and seed it or connect to an existing marketplace
- create 2 API Clients in your designated Marketplace
- if the Clients exist already new Clients will be created
- the following Environment variables will be added to your project
- ORDERCLOUD_MIDDLEWARE_CLIENT_ID
- ORDERCLOUD_MARKETPLACE_ID
- COMMERCE_PROVIDER
- ORDERCLOUD_MIDDLEWARE_CLIENT_SECRET
- ORDERCLOUD_BUYER_CLIENT_ID
- ORDERCLOUD_MARKETPLACE_NAME
Simply follow these steps to add the integration:
1. From the Project dashboard Select Settings -> Integrations tab -> click Browse Marketplace.

2. Select Sitecore OrderCloud from the Commerce category. This provides an overview of Sitecore OrderCloud and some instructions for the integration, click Add Integration.
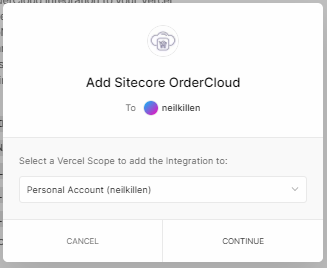
3. You will be asked to Select the Vercel scope to add the Integration to. Here you can choose to install to a personal account or a team. An integration can only be installed once per scope. Select the appropriate scope and click continue. If you just have a free test account then the scope will be a Personal Account.
4. Once the scope has been selected you will be prompted to select the projects you wish to add the integration to. Here you can choose All Projects or specific projects. Here we select the Commerce project we created above and click Add Integration.
5. At this point Prompted to either Create and New Sitecore OrderCloud account or sign into an existing account.
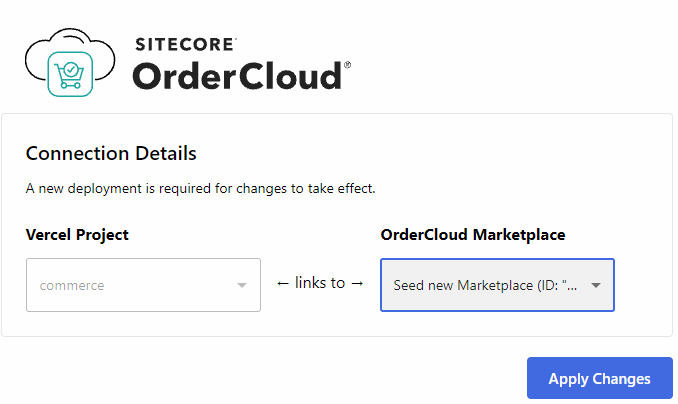
6. Once Signed into your Sitecore OrderCloud account you will be prompted to Select the Marketplace you would like to integrate your Vercel Commerce project with. You can choose to Seed a New Marketplace – creating a new Marketplace in OrderCloud and seeding it with sample commerce data or you can Select an existing Marketplace account. Select Seed new Marketplace (ID: “NEW”) and click Apply Changes.
7. Once you click Apply changes the seeding process will commence this will create a new Marketplace in your OrderCloud instance Vercel Commerce and seed it with the following data:
- 10 Cateory Product Assignments
- 10 Product Catalog Assignments
- 2 Security Profile Assignments
- 3 Api Clients
- 1 Catalog Assignments
- 10 Products
- 1 User
- 12 Spec Options
- 4 Categories
- 1 Buyer
- 4 Specs
- 10 Price Schedules
- 1 Catalog
- 1 Admin User
- 2 Security Profile
8. Now all that is left to do is redeploy our project. In the Commerce Project dashboard select the Deployments tab then select the Preview Deployment and select Redeploy from the menu.

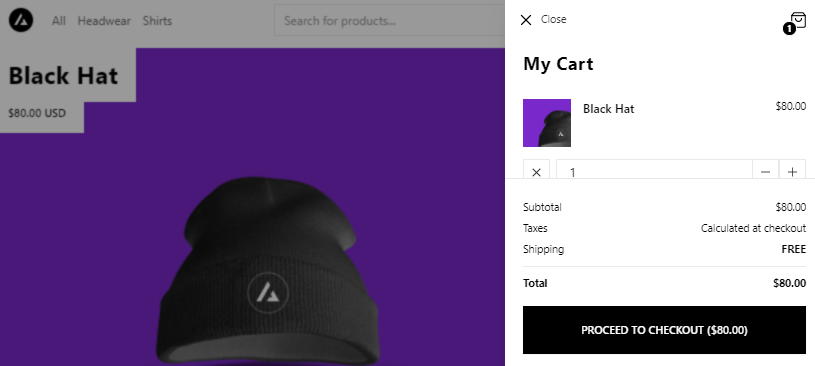
9. Once the Redeploy has been completed your site will now be connected to your Sitecore OrderCloud, serving products and sending orders to your new marketplace Vercel Commerce.

Develop Nextjs Commerce locally
With the Nextjs Commerce solution deployed on Vercel, you will probably want to spin up a local instance for further development/customizations.
1. Access the new repository Vercel created in your git provider account linked with Vercel, Clone the repository to a local directory.
2. Open the project in VSCode and create new file .env.local we are going to add the environment variables we created above to our local instance. Copy the environment variables from Vercel and add them to .env.local:
ORDERCLOUD_MIDDLEWARE_CLIENT_ID=VERCEL ENVIRONMENT VARIABLE
ORDERCLOUD_MARKETPLACE_ID=VERCEL ENVIRONMENT VARIABLE
COMMERCE_PROVIDER=VERCEL ENVIRONMENT VARIABLE
ORDERCLOUD_MIDDLEWARE_CLIENT_SECRET=VERCEL ENVIRONMENT VARIABLE
ORDERCLOUD_BUYER_CLIENT_ID=VERCEL ENVIRONMENT VARIABLE
ORDERCLOUD_MARKETPLACE_NAME=VERCEL ENVIRONMENT VARIABLE
3. Open a terminal in your repository’s root directory. To install the project’s dependencies, run npm install.
4. When dependencies have finished installing, run npm run dev. Next.js should load your environment variables from .env.local, start a local server, and compile your project.
5. During compilation I ran into the following issue:

5. To resolve this issue I had to run:
npm i cross-env –save-dev
cross-env makes it so you can have a single command without worrying about setting or using the environment variable properly for the platform.
6. Then open the package.json and modify the dev option to include cross-env so it looks like:

7 After that I was able to compile Next.js Commerce and access the storefront on localhost:3000.
Make some simple changes
We are going to modify the Hero on the Home page by changing the Lorem Ipsum to something more relevant and also changing the Hero component so we can pass an actual URL to the link and the link text.
Open the componets/ui/Hero/Hero.tsx and update the HeroProps interface and Hero implementation so we can pass in the linkurl and linktext:
Now to update the home page content. Open the pages/index.tsx locate the Hero component and change the properties:

One of the awesome features I love about React is the Fast Refresh so my changes are almost instant on my development server. No waiting around for a build/publish/app-pool recycle.
Deploying changes to Vercel
But more importantly, it is super easy to get your changes deployed to Production with Vercel. Vercel supports Develop, Preview, Ship (DPS):
- Develop – write code in Next.js. Keep the development server running and take advantage of React Fast Refresh.
- Preview – every time you push changes to a branch on GitHub / GitLab / BitBucket, Vercel automatically creates a new deployment with a unique URL. Preview Branches, are used for previewing changes before merging into production. By default, every Preview Branch automatically receives its own Domain.
- Ship – when you’re ready to ship, merge the pull request to your main branch. Vercel will automatically create a production deployment.


Note: With each new push, if Vercel is already building a previous commit, the current build will be canceled to build the most recent commit so that you always have the latest changes deployed as quickly as possible.
Re-Seed OrderCloud with Vercel-B2C Data
When the Next.js commerce project was created as part of the workflow OrderCloud was seeded with sample data. If you wanted to re-seed your marketplace or create a new marketplace with sample data clone the OrderCloud-seed utility open a terminal and navigate to the cloned project root directory\seeds you will notice some seeds files.
In my previous post the Sample-B2C seed was used to populate a marketplace, however, for the Vercel Commerce project during the Vercel integration setup the Vercel-B2C file is used. So you could potentially run this manually to seed/re-seed a marketplace for use with your Vercel Commerce project. Simply run the seed command passing the seed file path:
npx @ordercloud/seeding seed ./Vercel-B2C.yml -u={Your OrderCloud Username} -p={Your OrderCloud Password}
Useful Resources
- Vercel Project Overview
- Vercel Integrations
- Sitecore Walkthrough: Deploying to Vercel
- Vercel Deployment guide
- Sitecore OrderCloud Vercel Integration
- Using Git with Vercel
- Vercel Environments
Have fun with Vercel, Next.js & OrderCloud
