In a previous post, I’ve introduced Sitecore CDP with some tips and tricks to help you get started with this awesome platform. While there are a few different ways you can integrate Sitecore CDP with your site:
- Direct client-side integration
- Client-side integration via GTM (Google Tag Manager)
- Server-side integration
I thought it would be helpful to demonstrate how to add CDP to the Next.js Commerce App via GTM. One of the benefits of this approach is it allows marketers to manage and deploy the CDP script to their site without having to modify the code. As the majority of sites already have GTM set up it should be relatively easy to add Sitecore CDP without getting the dev team involved. “Yey! we can do this ourselves, we don’t need any developers!” I hear you marketers holler!!
Now I’m not advocating you start adding scripts to your live site via GTM, as it does require some technical resources. Most marketing teams have analytic pros who understand the impact and risk of adding scripts and perform rigorous testing before publishing anything on a live site, to ensure there is no detrimental impact on performance or worse bring the entire site down. With great power comes great responsibility.
Setting up GTM Tag for Sitecore CDP
First, we need to create a new tag in GTM and include the Sitecore CDP script.
1. Go to JavaScript tagging examples for web pages and copy the CDP snippet.
2. In GTM, select the Tags tab in the navigation and click New to create a new Tag and give your tag a name, for example, Sitecore CDP.
3. Click Tag Configuration and select Custom HTML for the tag type and paste the Sitecore CDP Snippet Script code you copied in step 1.
4. Replace the {{clientKey}}, {{apiTargetEndpoint}}, {{cookieDomain}}, and {{clientVersion}} attributes with your own client key, API target endpoint, cookie domain, and version and click Save.
5. Click Triggering and select All Pages so that the Sitecore CDP snippet appears on all pages of your site click Save.

6. Click Submit and give your tag a version a name for example Sitecore CDP v1.0 you can also include a description.
7. Click Publish to make your new tag live.
Adding GTM to Next.js Commerce
I’ll be using the Next.js Commerce template provided by Vercel, which I demonstrated in a previous post: How to Integrate OrderCloud with Vercel Next.js Commerce. As my solution does not have GTM already set up, I will need to add it. If you already have GTM installed on your site you can skip this part.
As part of setting up GTM tags, Google provides you with two javascript tags. One to place as high in the of the page and immediately after the opening tag. While investigating how to include GTM in the Commerce Next.js solution I discovered a few common approaches. Either of these approaches should work:
- The first is covered in the next.js examples and uses the Script component to add the google scripts.
- The second is the react-gtm-module a Javascript module for react based apps implement GTM.
I’ll go with the second option for now as it seems like the quickest. To Install the module run the following from the project root:
npm install react-gtm-module –save
Install the types for the module:
npm i –save-dev @types/react-gtm-module
Once installed I just need to modify the _app.tsx to initialize GTM by including the following:

Note: The gtmId should probably be updated to use an environment variable, but this will do for now.
When I push my feature branch changes for the project, Vercel will automatically build and deploy to a preview URL, allowing me to test and ensure GMT and my tag is working as expected.
Verify tag is firing as expected
While you can use F12 and your browser Dev Tools to verify ga and the Sitecore CDP scripts have been loaded, the GTM preview and debug console is also great as it provides better insights into your GTM container. This console shows you all the tags that are installed and which ones are actually being fired and which ones are not fired on particular pages and events. To load the Debug and Preview Console:
- Open GTM and select your tag in this case Sitecore CDP and click Preview in the top right corner.
- Enter the url for your website. The debug console will open at the open of the browser window.
- Here you can evaluate what tag are being fired on each the page and when it is not being fired.
Why is my tag not firing in Next.js?
You may notice with your next.js app GA tracks your first visit but fails to load the tag on other page views as you navigate the site. This is how react-based applications work. To solve this issue we can add a History Change trigger and attach the trigger to our Sitecore CDP tag to ensure it is loaded on every page:

Add a simple Web Experience with Sitecore CDP
With the Sitecore CDP script integrated using GTM with my site I can now demonstrate how easy it is to personalize. I’ll create a really simple Web Experience to display a simple pop-up. A web Experience is an easy way to add offers or next best action. CDP provides a selection pre-built templates with the business or marketer in mind without requiring extensive knowledge if any of HTML, CSS, or JavaScript. Allowing marketers to easily add experiences to their site. Alternatively, technical users can create templates from scratch or modify the existing pre-built templates and makes these available to the wider marketing team.
My pop-up will display a discount offer on a product detail page. To create a web Experience follow these simple steps:
1. From the Experiences tab select web then click Create Experience and give your experience a name for example Discount Offer Hats Popup.
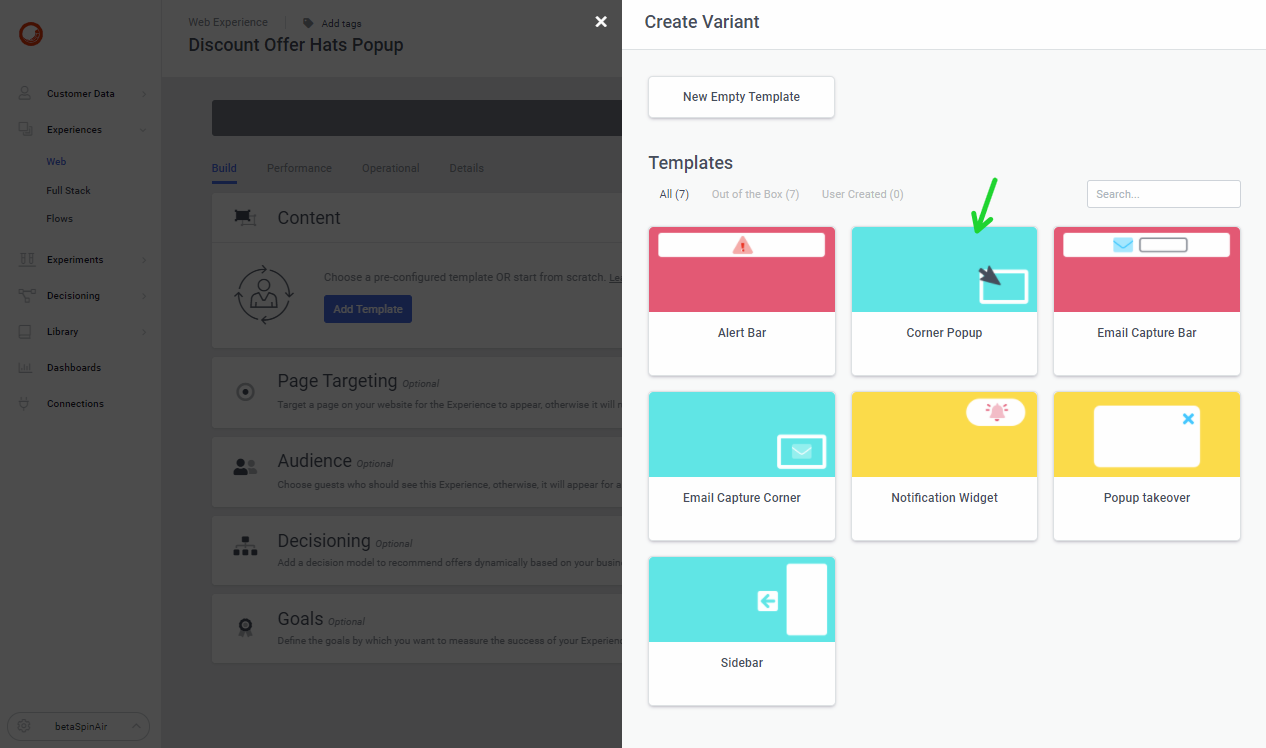
2. You will be presented with the default popup template and several fields which can be easily modified to change this particular Corner Popup template’s content.
3. As you can see I’ve made a few simple changes to amend the title, included an image URL, and added a description. All this was done without touching HTML or CSS.
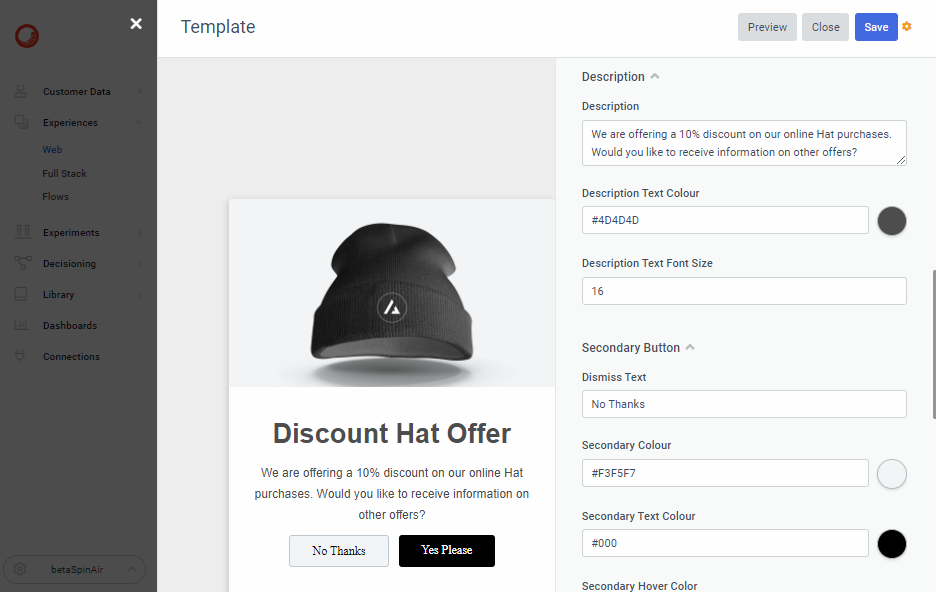
4. There is an Advanced Edit feature enabling you to change the markup of the template and you can obviously create your own templates. Sitecore CDP enables you to inject form values into the template so something to consider when constructing your own templates as this makes them re-usable and easier for your marketing team to use and modify as required.
5. Once we have our template looking the way we want it we can easily preview it on your site by clicking the Preview button and entering the URL for your site and click Save & Go.
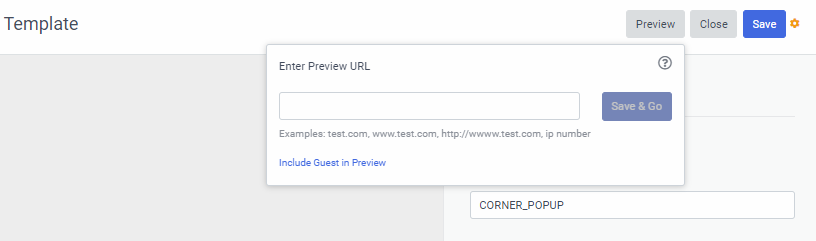
6. This will load your site and the popup should be rendered as expected:

7. Now we’ve only created our Popup Experience we have not made it live yet. But before we make it live I want to include some Page Targeting, as I do not want this popup appearing on every page and only want to target specific pages like my Hat Product Detail page. To do this click Add on the Page Targeting section of the Experience. Here you can specify rules that define which pages you want your experience to target. I’ve created a really simple rule: if the URL contains my product page i.e. “product/black-hat”, and clicked Save. With this rule in place, my popup will only show when the URL contains product/black-hat.
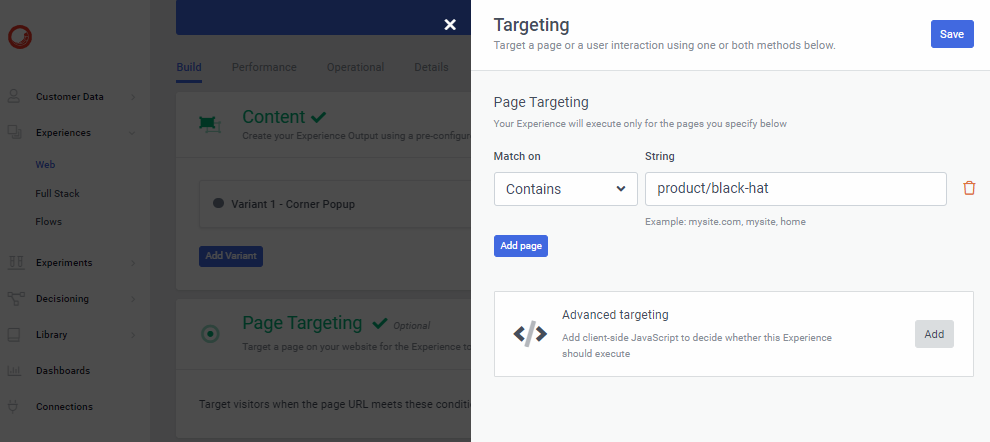
Note: you can add multiple rules and even use advanced targeting to create more complex rules and have client-side JavaScript determine whether to execute the experience.
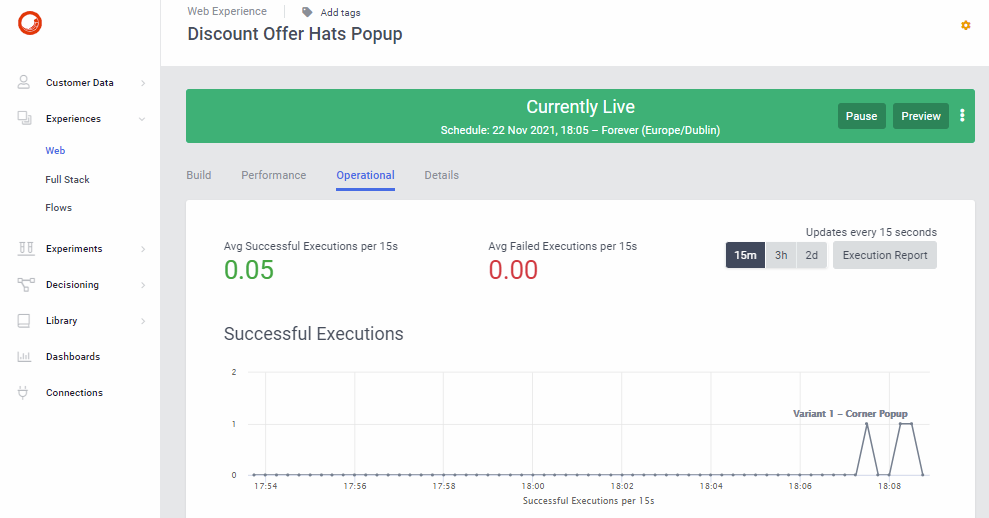
8. To start the Experience click Start, you have the option to either start it immediately or schedule it to run for a specific period. Once the Experience has been started you can easily pause it, check the Performance metrics, Operational metrics, and Details about the experience.
Conclusion
As you can see it was relatively straightforward for me to include Sitecore CDP on my site without having to touch the code, except of course I had to add GTM to my solution. But for the Marketer who would have this installed already, they should be able to get up and running with Sitecore CDP fairly quickly and easily.
Useful Links
- How to send data to Sitecore CDP via Google Tag Manager
- Sitecore CDP Web Tagging Best Practices
- Sitecore CDP Web Tagging and Troubleshooting
- GTM Trigger Best Practices
- Where to start with Personalisation and Sitecore Personalise/ Customer Data Platform (CDP) formally Boxever by Dominic Hurst
Hope you have fun with Sitecore CDP!
